HOW I KEEP MY NAILS DONE ON A BUDGET
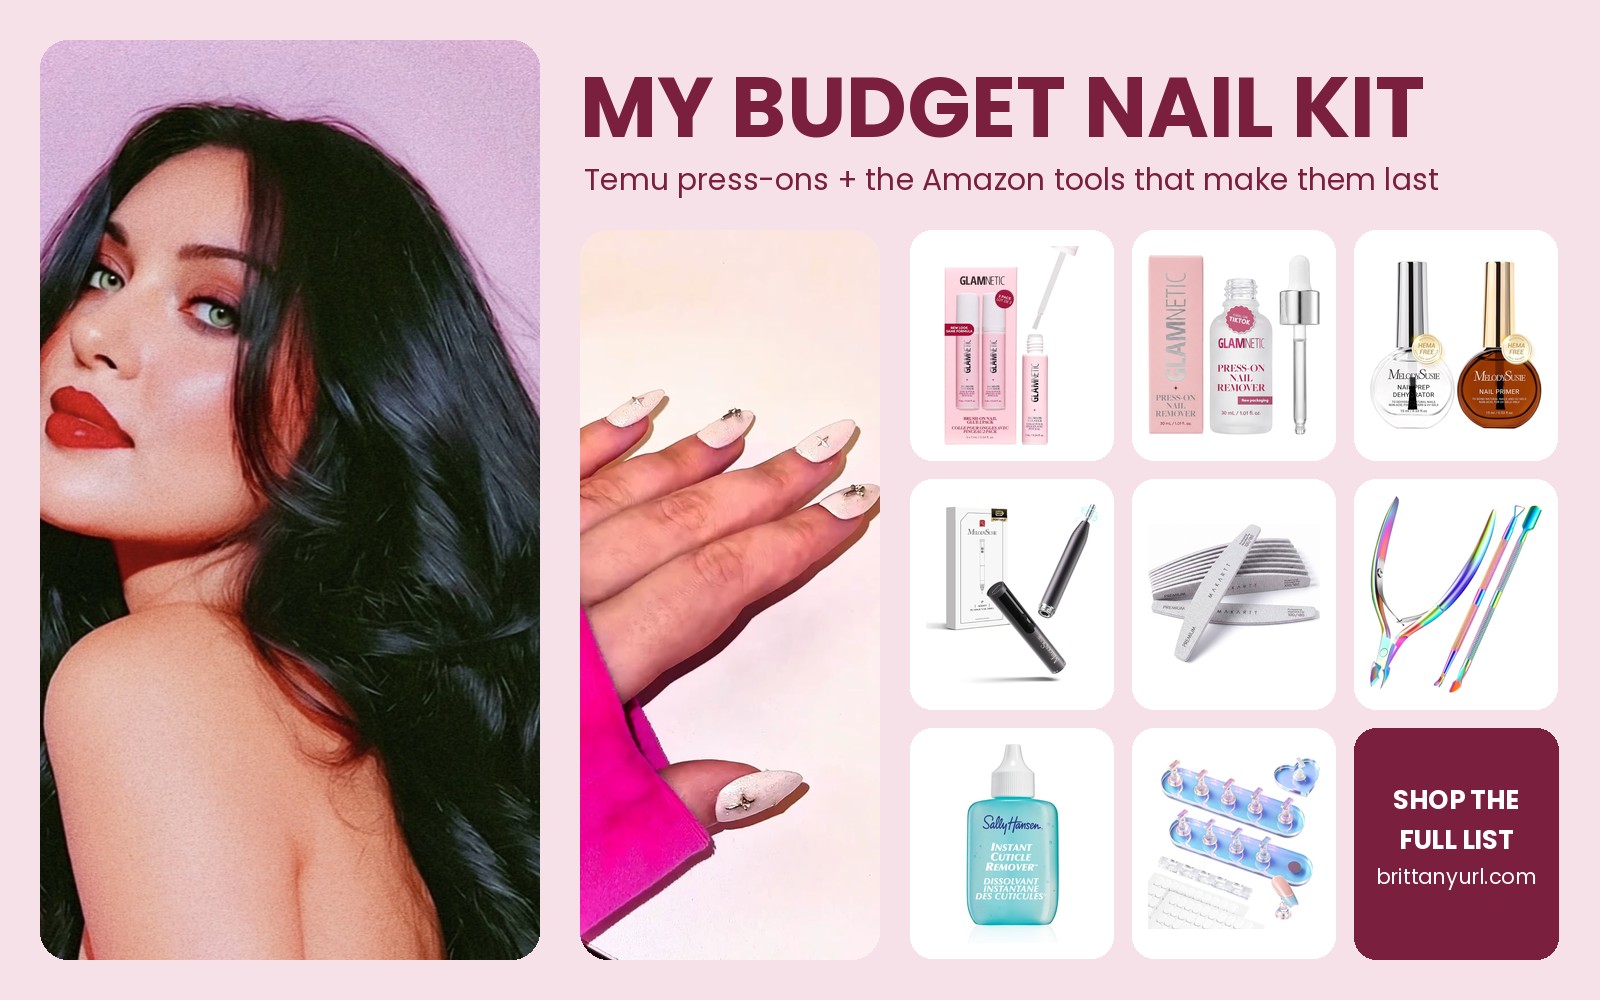
My nail system has one rule: cheap nails, good tools. I buy press-on nails from Temu, then apply them, keep them on, and do my manicures with tools and glue from Amazon.
The nails are where I save money. The prep, glue, and aftercare are where I spend it, because those decide whether a set lasts two days or two weeks.
Here’s everything in my kit, plus the exact routine I use to put a set of nails on and take them off.
THE QUICK VERDICT
Temu press-on nails plus good glue and real prep tools gets you salon-looking nails for a fraction of the cost.
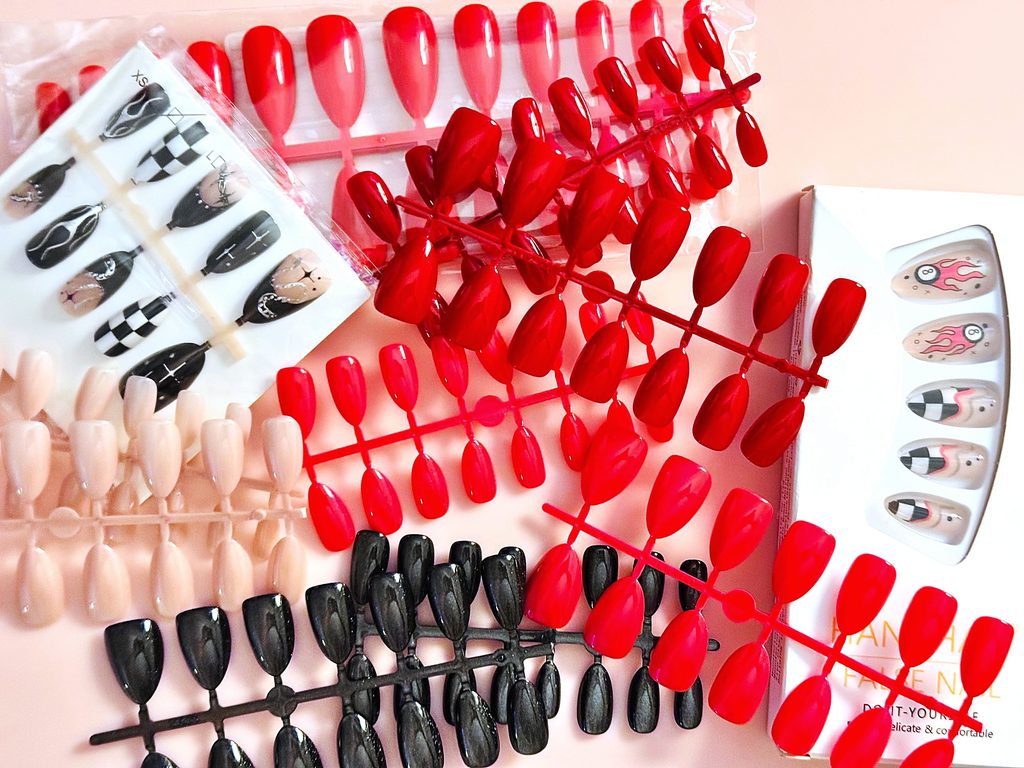
On average, I pay about $1 to $2 for a full set, sometimes even a multi-pack in different colors. With the right prep and the right glue, I get up to a week of wear on my press-on nails, sometimes two.
The glue is the most important purchase on this list, and the prep tools are a close second.
PART 1: THE NAILS
TEMU PRESS-ONS (THE BUDGET PART)
This is where the savings happen. I love Temu sets because the variety is ridiculous. There are so many styles to choose from that I never run out of options, and at around $1 to $2 a set, I can switch things up as often as I want.
WHAT I LOOK FOR:
- Length: Short to medium
- Shape: Almond or stiletto
- Sizing: Some listings ask you to pick a size. If they don’t, the pack usually comes with around 30 pieces (two or three of each size), and you size them to your own nails.
I keep my favorite sets on my Temu storefront, so you don’t have to dig through a thousand listings to find the good ones.
SHOP MY TEMU PRESS-ON NAIL LIST
GLAMNETIC PRESS-ON NAILS (THE SPLURGE)
When I want a set that’s a step up, I go for Glamnetic. Any style is great, but Dirty Martini happens to be my favorite.
PART 2: NAILS PREP (WHERE LONG-LASTING SETS ARE MADE)
A press-on is only as good as the nail under it. These are the tools that get my natural nails ready.
CUTICLES
- Sally Hansen Instant Cuticle Remover: A must-have for softening cuticles so I can remove them with clippers or mini scissors.
- Cuticle Trimmer with Clipper and Pusher: The tool set that handles the actual trimming and pushing back.
SHAPING AND LENGTH OF NAILS
- Nail shortening clippers: Sometimes a nail is too long for my taste, so I trim it with these, then file.
- Makartt zebra nail files: These are the best files I’ve ever used, and at this point they’re the only ones I’ll use.
- Kiara Sky nail buffers: The best nail buffing blocks in the game.
THE DRILL SETUP
If you want to step up from hand filing, this is my at-home drill kit:
- MelodySusie pen-shaped cordless nail drill: Great for beginners.
- MelodySusie rainbow diamond drill bit pack: Comes with everything you need to start drill filing and buffing at home or on the go.
- Makartt nail drill sanding bands: The perfect assortment.
- MelodySusie cordless nail dust collector: A must-have if you’re filing with a drill. All that nail dust has to go somewhere, and I’d rather it not be my lungs.
CLEAN, DRY NAIL BEDS
- Makartt lint-free nail wipes: Truly lint free, which matters when you’re about to glue something down.
- MelodySusie nail dehydrator and primer: Essentials for long-lasting press-on nails.
PART 3: MY PRESS-ON NAILS APPLICATION ROUTINE
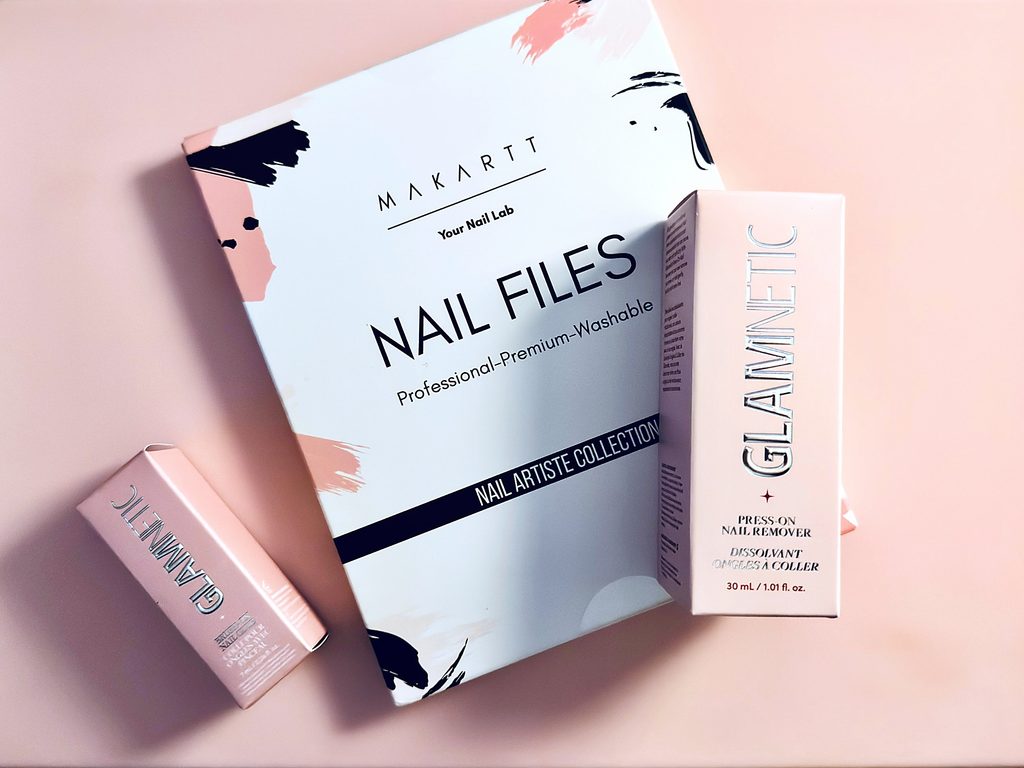
This is a multi-step process, and every step earns its place. Skip one and you’ll feel it around day three.
- File your natural nail. Shape it with your file first.
- Buff your natural nail bed until it’s coarse. A rough surface gives the glue something to grip.
- File the edges of the press-on. Press-ons usually come attached to a little stick that you break them off of, so there’s almost always an uneven spot. File it smooth.
- Buff the inside of the press-on. I use the MelodySusie drill with the Makartt sanding bands to rough up the underside of the nail, where the glue goes.
- Apply dehydrator, then primer, to your natural nail. In that order. The primer will feel tacky, and that’s what you want.
- Brush glue inside the press-on. Coat the inside of the nail with Glamnetic glue, then lay it flat on your table.
- Brush glue onto your natural nail. Use the same glue brush to coat your nail bed.
- Press and hold. Hold the press-on down as firmly as you can for 20 to 30 seconds. Sometimes I use clips to hold it in place, but usually I just hold it.
- Repeat for each nail.
THE GLUE (THE MOST IMPORTANT THING ON THIS LIST)
Glamnetic press-on nail glue has a seriously strong hold. I’ve tried so many nail glues, and this one is the best by far. It’s how I get a week of wear, sometimes two.
If you only upgrade one thing from this post, make it the glue. Cheap nails with good glue hold up. Good nails with bad glue pop off.
LIGHTS FOR TOUCH-UPS
- MelodySusie handheld cordless UV light: Perfect for touch-ups and doing one finger at a time.
- MelodySusie compact cordless nail lamp: The only lamp I’ll use, because it’s cordless.
PART 4: TAKING THEM OFF AND AFTERCARE
Taking a set off is where most people wreck their natural nails. Ripping off a press-on that’s still glued down is how you end up with thin, peeling nails. Here’s how I do it instead, using the Glamnetic press-on nail glue remover (viral on TikTok for a reason).
- Make a gap. Use a cuticle stick to gently push under the sides of each press-on, so there’s a small gap between it and your natural nail.
- Add the remover. Put 1 to 2 drops of remover into each gap.
- Wait 5 to 7 minutes. This is the step people rush. Let the remover loosen the glue.
- Lift gently. Use the cuticle stick to lift the press-on off. If it doesn’t budge, add another drop, wait, and try again. Don’t force it.
- Buff off the leftover glue. Lightly buff your natural nails with your file to remove any residue.
Then finish with MelodySusie rose cuticle oil, which is infused with real roses and keeps cuticles happy between sets.
PART 5: KEEPING THE WHOLE SETUP ORGANIZED
- MelodySusie press-on nails stand, 3-piece set: I use these for making my own press-ons. That’s a whole post of its own, and it’s coming soon.
- Makartt 48-bottle clear nail polish organizer: A must-have for keeping bottles organized and out of the way.
- MelodySusie 2-in-1 nail tool cleaning machine: A brand-new device for keeping your tools clean.
THE HONEST CONS
Here’s what to know before you buy:
- Temu sets need finishing work. That leftover spot from the plastic stick means you’ll be filing every nail before it goes on.
- Sizing can take time. When a pack comes with around 30 pieces and no size options, you’re matching each nail to each finger yourself.
- This isn’t a five-minute routine. Real prep is what makes a $2 set last up to two weeks, and real prep takes a little time.
SHOP EVERYTHING IN ONE PLACE
- My full Amazon nail list: Every tool, glue, and staple from this post and then some.
- My Temu press-on nail list: The sets I actually buy.
This post contains affiliate links, including Amazon and Temu, but everything listed here is tried and true. If you buy through them, I earn a commission at no extra cost to you. As an Amazon Associate I earn from qualifying purchases.
FREQUENTLY ASKED QUESTIONS
Yes, as long as you prep your nails properly. Temu press-on nails come in a huge variety of styles, and a full set of nails (sometimes a multi-pack in different colors) costs about $1 to $2 on average.
The nails themselves need a little finishing work, since there’s usually an uneven spot where each nail breaks off the plastic stick. Once you file that smooth and use good nail glue, cheap press-on nails look and wear like a salon set.
With the right prep and the right nail glue, my press-on nails last up to a week, sometimes two. The nail glue makes the biggest difference.
I use Glamnetic brush-on nail glue, which has the strongest hold of any press-on nail glue I’ve tried. Skipping prep or using weak nail glue is the fastest way to have nails popping off in a few days.
Prep both your natural nails and the press-on nails before you glue anything:
– File and buff your natural nails until the surface is coarse.
– File the uneven edge on each press-on nail.
– Buff the inside of each press-on nail (I use a cordless nail drill with sanding bands).
– Apply nail dehydrator, then primer, to your natural nails.
– Brush nail glue inside the press-on nail and onto your natural nail.
– Press and hold each nail firmly for 20 to 30 seconds.
A rough surface on both nails gives the nail glue something to grip, and that’s what makes press-on nails last.
Never rip press-on nails off. Use a cuticle stick to create a small gap under the sides of each nail, add 1 to 2 drops of Glamnetic press-on nail remover into the gap, and wait 5 to 7 minutes for the nail glue to loosen.
Then gently lift each nail off. If a nail doesn’t budge, add another drop and wait again. Lightly buff off any leftover glue, and finish with cuticle oil so your natural nails are ready for the next set.
Cheap press-on nails are worth it if you spend where it counts. I save on the nails themselves with $1 to $2 Temu press-on nails, and I spend on the nail glue, nail files, buffers, and prep tools that make each set last. Good nail glue and good prep can make a cheap set wear like an expensive one.